DIY Fashion Photography for Ecommerce
Not everyone has the budget to hire a professional photographer and model to shoot their products but, with a few helpful tips you can get studio-quality fashion photography shots in your own home for your online business. Here are some DIY tips that are sure to get you on the right track.
1. Find an open spot
You have three options for your clothing shots:
- Flat Lay (or against the wall with hangers)
- Mannequin display
- Live model
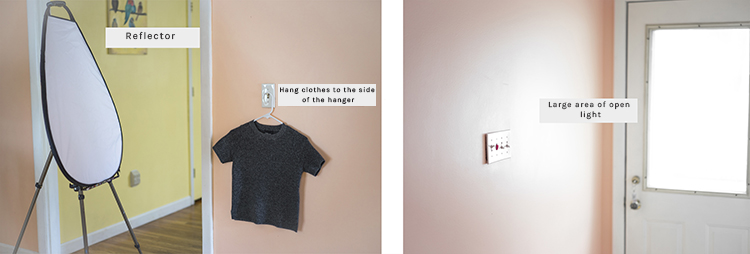
Whatever you choose, you’ll want to find an open area that you can take great photos of your products and work with the lighting. The ideal setup will have a large amount of natural light coming in.
If you have a space with natural light (at least part of the day) and enough space for you and a model, you’re doing great. If you have room for a model, you’ll have more than enough space should you choose to go flay lay or use a mannequin. The light source and direction will be your biggest concern in choosing a space.
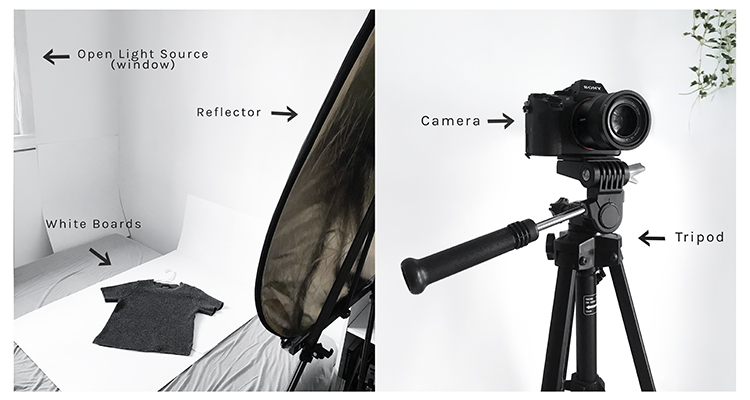
Focus on finding the best light source to reflect light from. Window light should be to one side of you and your reflector on the opposite side, and set your tripod up directly in front of you. The space in front of your tripod will be your backdrop, so the area below you and in front on you should be white.
2. Organize your gear
To create your clean, white area. You can invest in a photography backdrop and seamless paper backgrounds. Investing a few dollars into a great setup might be a good idea if you are in business for the long-haul in fashion photography.
If you want to stay as DIY as possible, a white sheet to cover walls and create a white area, combined with a large white poster board directly behind you product makes for a great solution for a home studio. Along with that, you’ll need a camera. At Pixc, they use a Sony A7ii with a 55mm 1.8 Zeiss lens.
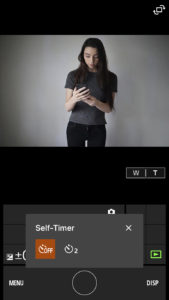
To take photos and be your own model, you’ll need a little bit more gear. In conjunction with your camera, you will need a tripod and a wireless, remote control, shutter release. Sony has an app that allows you to remotely activate the shutter from your phone.
But find what works for your own gear and use what you have on hand. If you haven’t yet invested in a tripod, try a stack of books. Don’t have a professional camera? Try taking product photos with your phone! You can still take great fashion photos without blowing your budget.
3. Find your style
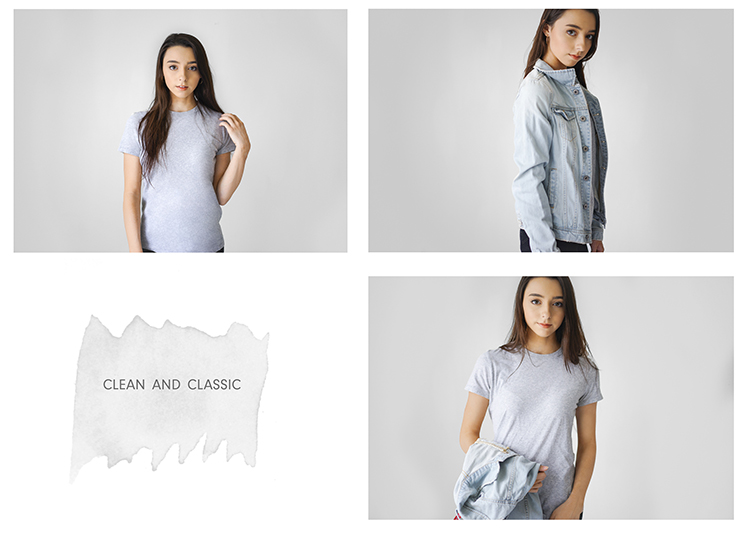
Mood boards are your best friend. Head to Pinterest and collect some fashion images you find most interesting. See what styles best fit your theme. Do you like clean and classic, or something more abstract?
By doing this you can develop your photographic style and decide what kind of look you want to go for. This will also help you to see different ways to pose and position the clothes so they are portrayed in the best way possible.
4. Start shooting
Lay out all the clothes you need to shoot, and a list of poses that you want to try out. Have your camera, lighting and remote shutter prepared and ready so all you need to focus on is getting the shots you want.
Play some great music and keep your mood high. Having a relaxed stress-free environment will make photographing yourself or a model much less awkward. The more fun you have with fashion photography, the better. It will shine through in the work you do.
5. Review your photos
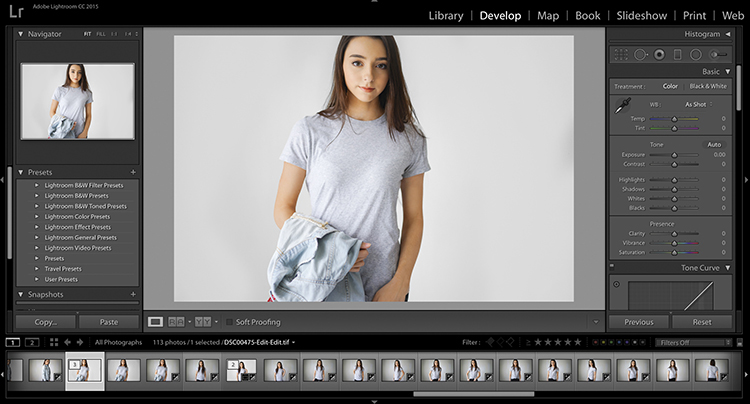
You may need to reshoot a few times, so don’t take all your equipment down straight away. You can get several shots, go to your computer and take a look at all the shots you just took, and go back to shooting. Remember that space on a hard drive doesn’t cost you anything. Feel free to take a lot more shots than you think you’ll need. You may be glad later on that you have them.
Make a list of the poses you need to redo or different angles that didn’t turn out like you’d hoped. This will also help you understand how to pose or lay clothes out differently. The best part of DIY fashion photography is that you are on your schedule, and don’t have to worry about being able to get all the shots you want.
6. Post-Processing
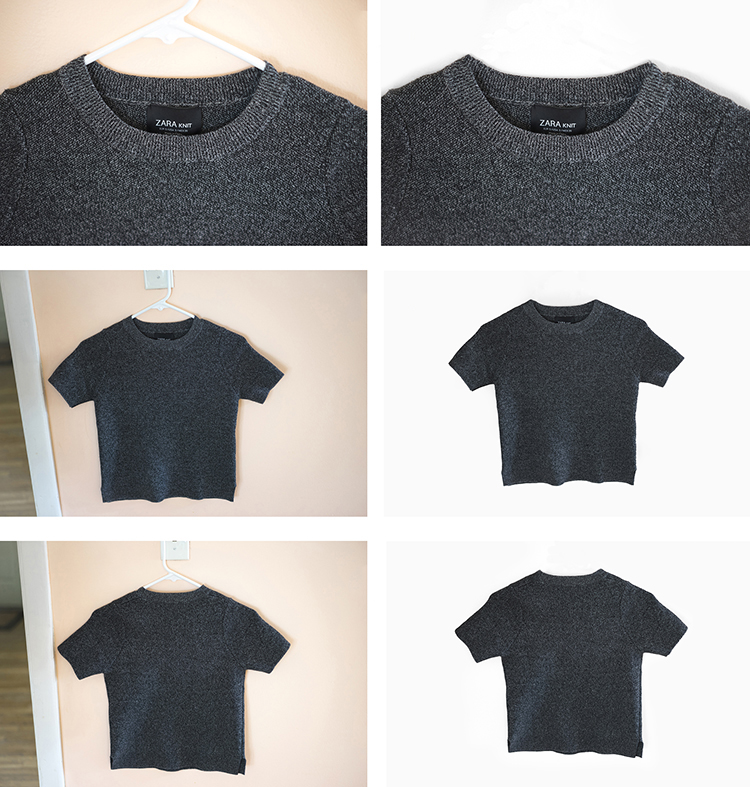
There’s no doubt that Adobe Photoshop and Lightroom will be your long-term best friend for editing product photos, but if you don’t feel like making the commitment just yet, try out some of these apps to get the feel of what photo editing and retouching are like.
Don’t feel like you need to go crazy with retouching. Less is more. I will usually only play with exposure, contrast, clarity, and saturation. If there are a few pesky details that need to be fixed such as too much wrinkling in the fabric or anything you see as unprofessional that’s when I would go into Photoshop.
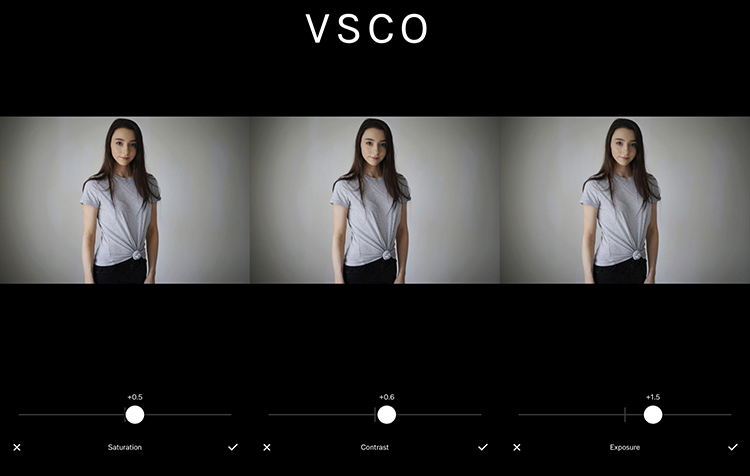
Adjust saturation, contrast, clarity, temperature and exposure. you can also straighten and crop your photos if needed.
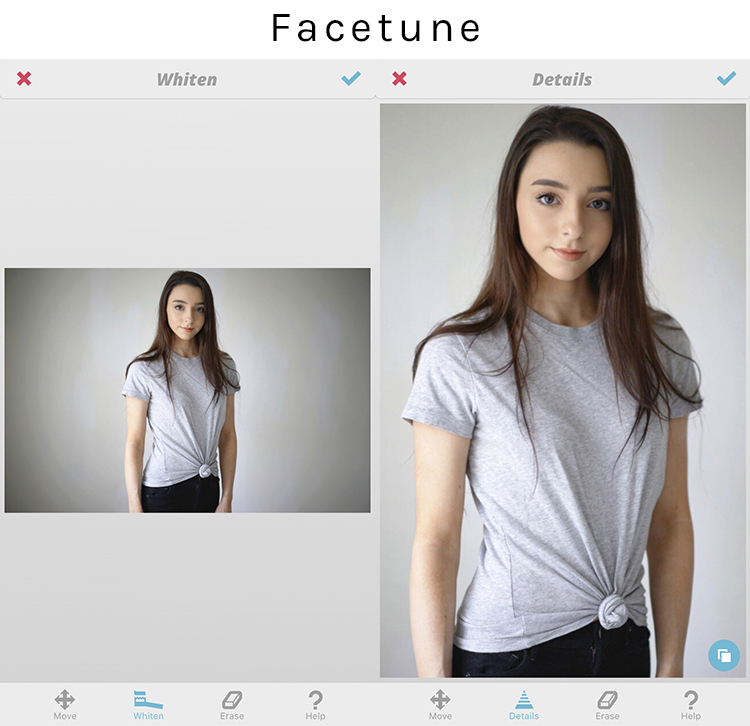
- Whiten tool: makes your background brighter and neutral
- Details tool: brings out features such as eyes or other small details on the clothing
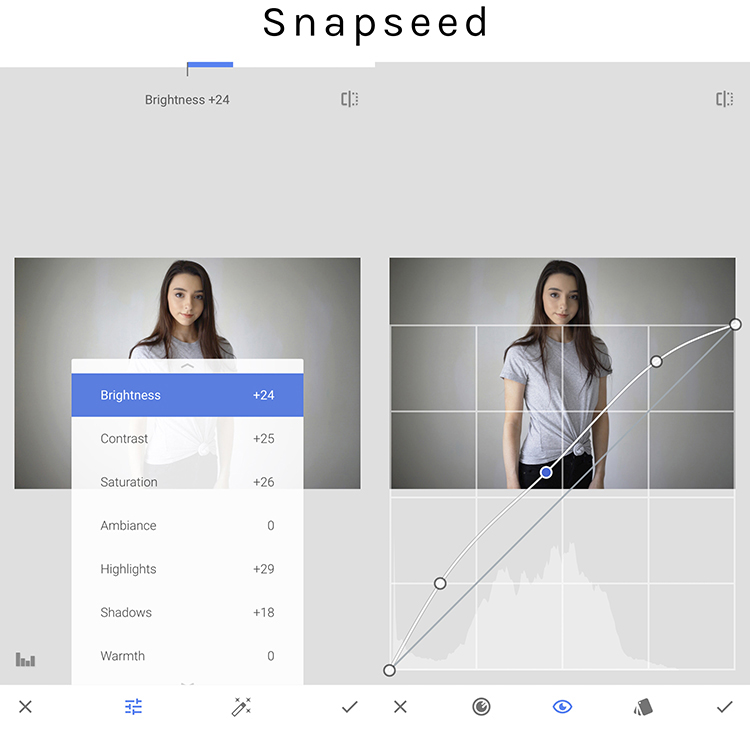
Adjust brightness, contrast, saturation as well as your highlights and shadows. Be careful not to over or under expose your image.
7. Keep doing fashion photography for your business!
Remember these tips for when you go out and shoot on your own. Fashion photography can look a lot more intimidating than it actually is. Just keep snapping! Having great product photos for your ecommerce website is key and can help build brand loyalty with shipping materials.
If you want to find out more tips and tricks to take amazing clothing photos, you can read more here and here. Or if you just need help adding the finishing touches to your product images, check out Pixc’s free trial.
About the Author
Rachel Jacobs is Head of Content and Partnerships at Pixc, a leading eCommerce product optimization service. Pixc transforms average product photos into professional images designed to increase conversions. A lover of all things content and growth, Rachel spends most of her time planning new content, fine-tuning growth strategies and tweaking email campaigns.

