5 Tips To Create Great Product Videos
Product Videos
You’re well on your way to creating your very own product videos for your e-commerce business. By now you’ve planned out your video shoot and have your video production equipment ready to go. The time has come for you to get out there and make your big marketing debut.
Assuming this is your very first video shoot, there’s no need to feel pressured to make the next big Super Bowl commercial. However, you do want to be prepared with the best video-production fundamentals before you go run-and-gun something real quick that won’t be valuable to your business. Product videos are great for showing off your brand, but they can also be integrated into your online advertising and marketing efforts for expanded reach. So, grab your coffee and take five minutes to get a quick crash course of best practices for shooting video:
LIGHTING
1. Adjust Your Lighting & Avoid Mixing Temperatures
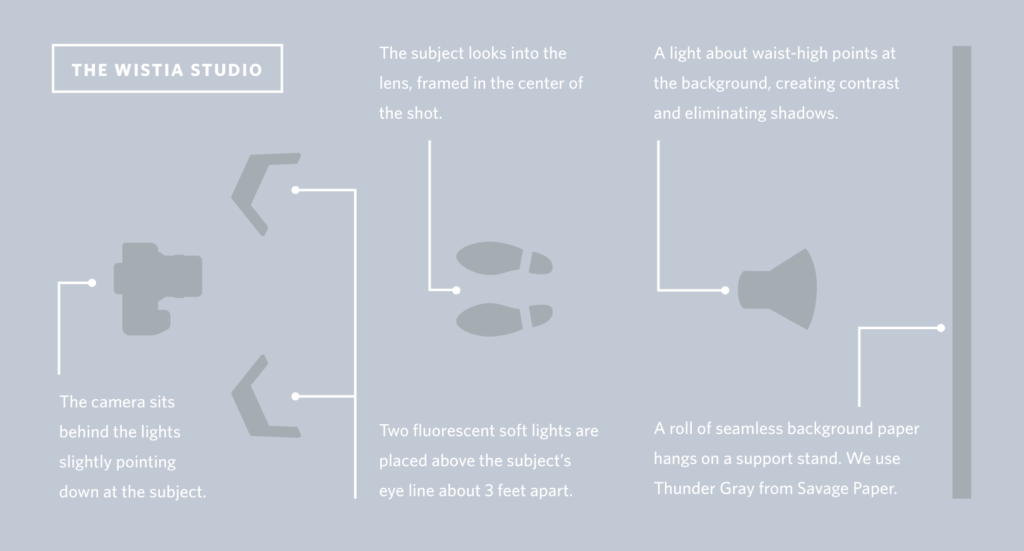
There’s nothing more awkward in a video than bad lighting. If too harsh, your subject (or product) can look like it’s under a spotlight; too soft and your video could seem very dull. With a DIY Lighting rig (or even a professional one), it’s important to use the right lighting techniques. Make sure your shot is lit evenly and avoid hard shadows, especially if it’s a person in your shot.
Make sure that your light sources match and are consistent. This means don’t mix different bulbs, colors, watts, etc. For the beginner, color temperature in video can be a tricky subject (and most times close to impossible to compensate for on a budget camera). What’s important to know is that if you’re shooting indoors, avoid using natural light from a window along with a lighting rig. It can create a headache when it comes to the contrast of your video and hard to adjust when editing.
Learn more about lighting with the comprehensive guide, Lighting on the Fly by Wistia.
2. Set the “True White” Balance
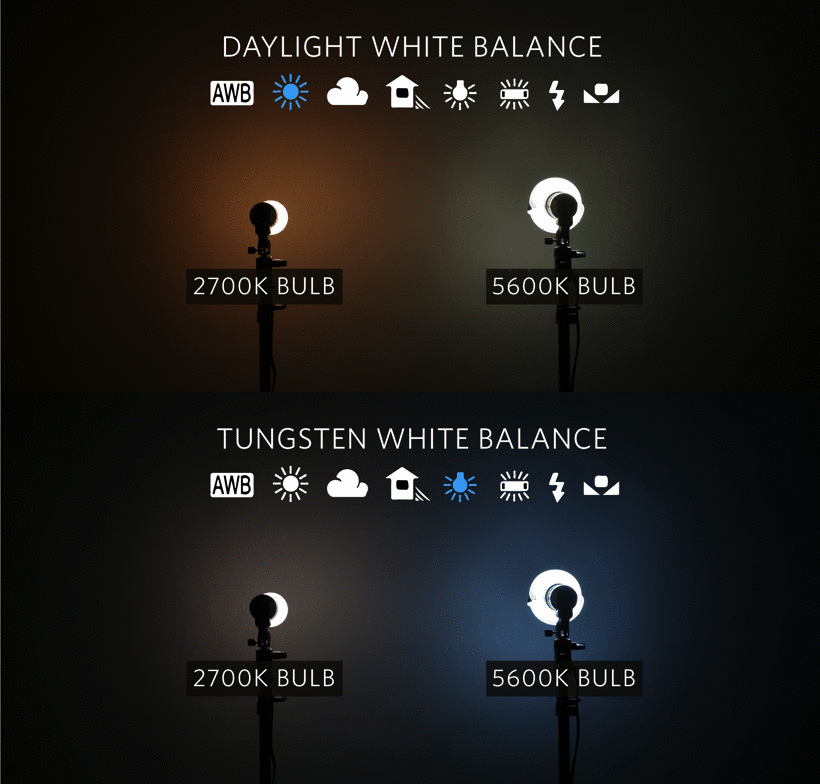
Avoid mixing color temperatures is key, but you also want to make sure that your camera is set at the right white balance before you do your first take. Some entry-level DSLRs and cameras offer preset white balance presets and Auto-White Balance. Avoid using auto if possible and dial in the best white balance to help yourself in post.
SOUND
3. Tune In Clean Audio & Acoustics
Sound quality is a huge factor that separates amateur YouTube reviews from professional-looking product videos. Acoustics are super important if you are recording sound during the film shoot because it will effect the overall quality & feel of your sound. Before you start rolling, take the time to feel out your space and and sound-check your subjects. If you’re indoors or in an inclosed area, does it have an echo or boxy sound? Is there a loud air-conditioner hum or an old buzzing warehouse light? If you’re outside, is there wind, traffic, or crowd noise? These are all things to consider when capturing sound on-set.

If you run into any of these issues, try and find the best location possible. You might consider doing a voice-over in post-production where you re-record your subject’s lines in a quiet area that match the exact way they were said during the shoot. If you’re planning on using sound from the shoot, record those voice-overs in a quiet place on-set with the same microphone and don’t forget to record at least a minute room tone (quiet noise of your location)!
SHOOTING
4. Get Framed, Static Shots
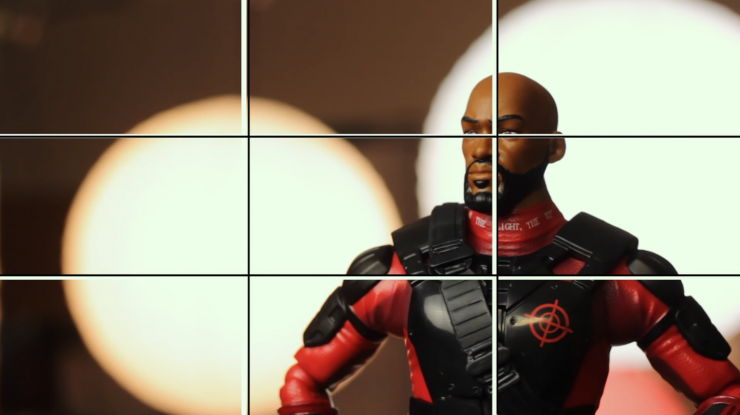
Shot composition and framing is an art of itself and your most effective tool at visually communicating to your audience. If done right, your potential customers won’t even notice the difference because it will just look standard to them. It can’t be said for the latter. Generally, you’ll want to consider the rule of thirds to get the shot that just “works.” Most DSLRs (and smartphones) offer the ability to overlay the grid on the viewfinder to help you frame your shot just right.
You might be enticed to get action shots; quick zoom-ins, tracking, dolly, or even a shot from an aerial drone. These are all great ideas (and super exciting to dream of in pre-production), however, you have to be sure to get your static, or motionless shots, knocked out to be your foundation. Once you have great still shots of your subject or product, have fun and bring some life to them with camera motion (but, please, do avoid making the next Cloverfield or Blair Witch Project).
5. Shoot Multiple Takes
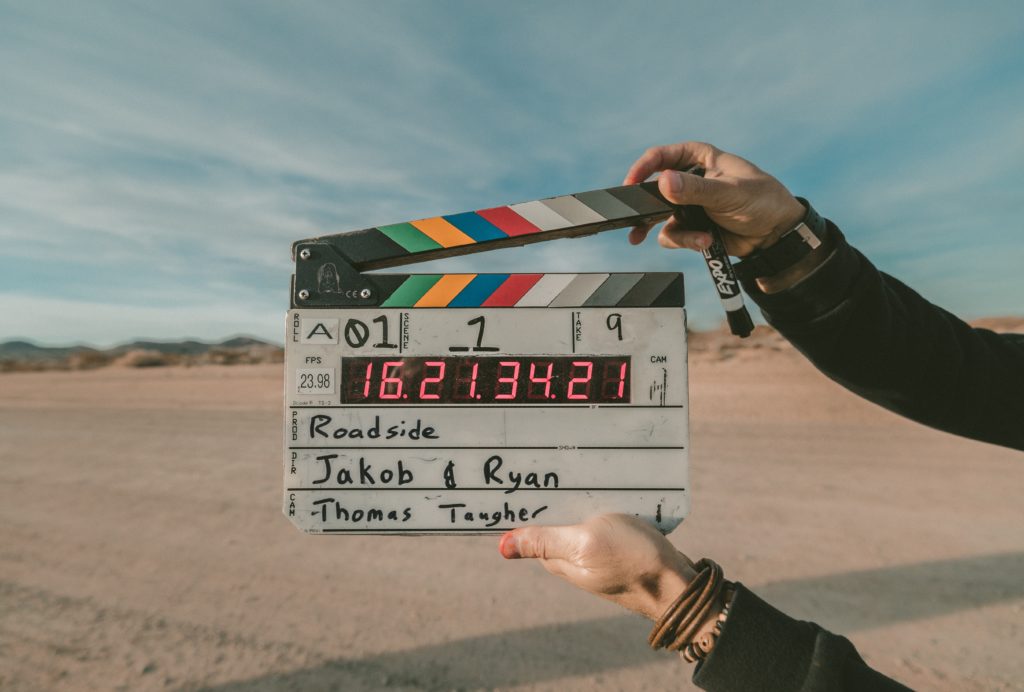
There’s nothing worse than brushing over some obvious hiccups while shooting and say you’ll “fix it in post” only to find out that it’s near impossible to edit out everything. It’s important to get multiple (good) takes of each scene, especially if the subject is talking in your product videos. You should have your shots planned out and storyboarded from the get-go, so try to be very consistent with each take. Shoot the same lines or actions from a different angle (preferably 30 degrees or more) so that you can splice from different cuts if necessary.
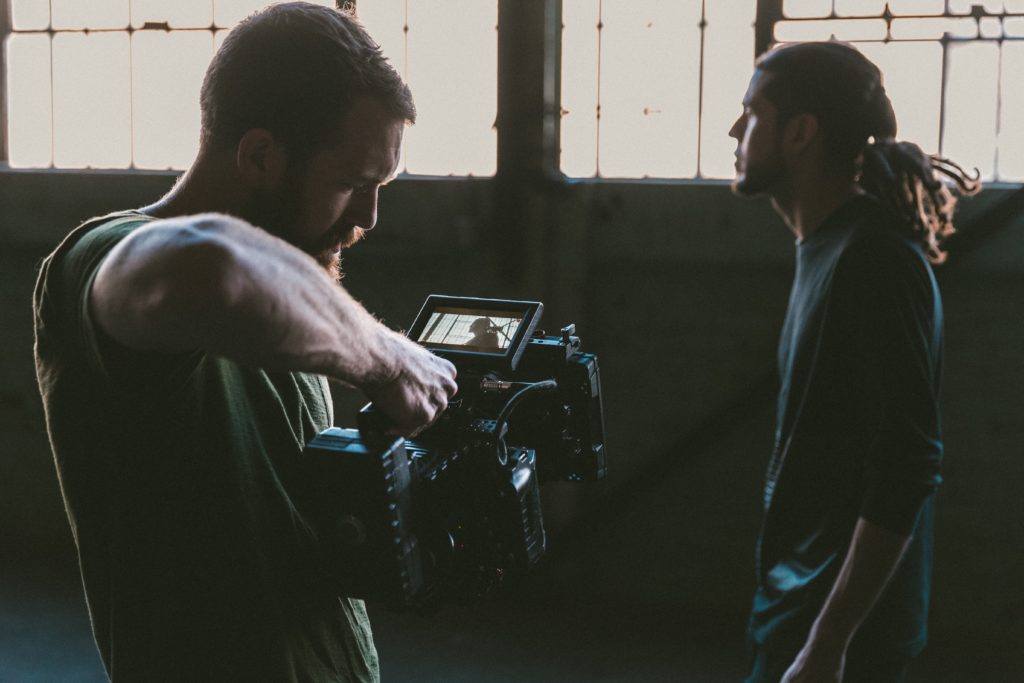
When knocking out your shot list, don’t be afraid to experiment a little. You want to be sure and get all the takes you need, but add to it when you see the opportunity to get a cool new angle or action that you didn’t originally think of when you were planning in pre-production. Show of your brand, culture and personality in your product videos to give it a great personal touch!
Sell Online?
If you’re an e-commerce seller, great product videos are a great tool to show off your brand. A nice touch to your customer’s online shopping experience might be to incorporate your product photos beyond checkout. With a shipping software like ShipStation, you can promote your brand and wow your customers with additional places where your product photos can live like a Branded Tracking Page, your shipping confirmation emails, your packing slips, and more. If you want to use your product photos to their best advantage and save time and money when shipping your products, try out ShipStation free for thirty days.


