How To Record High-Quality Audio For Product Videos
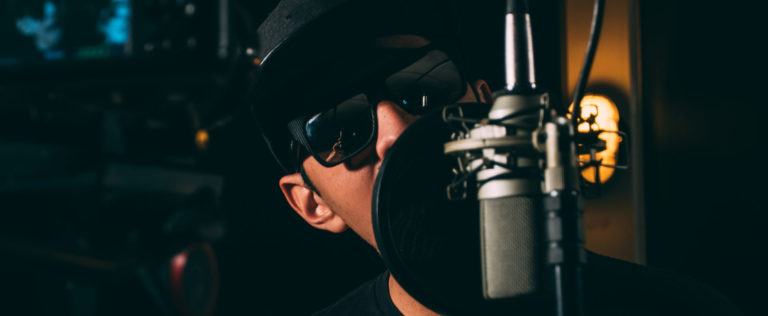
Your product videos are a valuable tool in your marketing strategy, so it’s important that we can hear you loud and clear. Whether your subject will speak on-camera or record a voice-over, you’ll want the right equipment to capture high quality audio.
Choosing Your Audio Recording Device
The typical DSLR or camcorder can take great photos and videos, but usually lack in their ability to record high-quality audio. That’s why you’ll want to consider getting an external recording device such as a portable audio recorder, an audio interface, or use the phone in your pocket!
Portable Audio Recorder
If you plan to record your subjecting speaking on-camera in your product videos, the portable digital recorder is your best choice. It works independently of your camera to record audio with it’s attached microphone or an external microphone plugged into one of it’s XLR mic ports.
At ShipStation, we use a ZOOM H5 Handy Recorder to record in-office videos and interviews with it’s shotgun microphone attachment.
Audio Interface / USB Microphone
If you’re only going to record narration and voice-over for your product videos, you might be a good fit for an audio interface. These devices stay on your desk and use external microphones to capture your audio. Audio interfaces require an outlet to plug-into for power, so they’re not ideal for the on-the-go or outdoor shoot. Consider using a USB microphone, which is a microphone and audio interface all-in-one. USB microphones are super-quick to setup with a simple plug-n-play that generally works with most audio recording softwares.
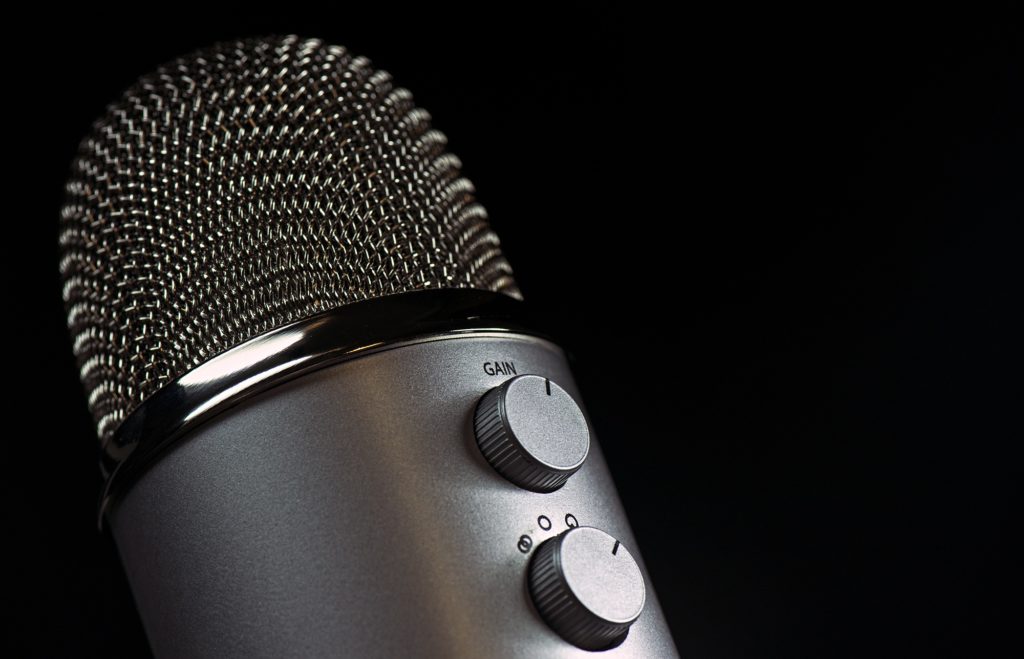
At ShipStation, we use a Blue Yeti Microphone to record the voice-overs for our product explainer videos and advertisements.
Smartphone
Surprisingly, newer smartphones capture good quality audio! They are more compressed than what you would get from an audio device, but using an iPhone to record audio in a pinch (or on a budget) does the job!
Selecting Audio Editing Program
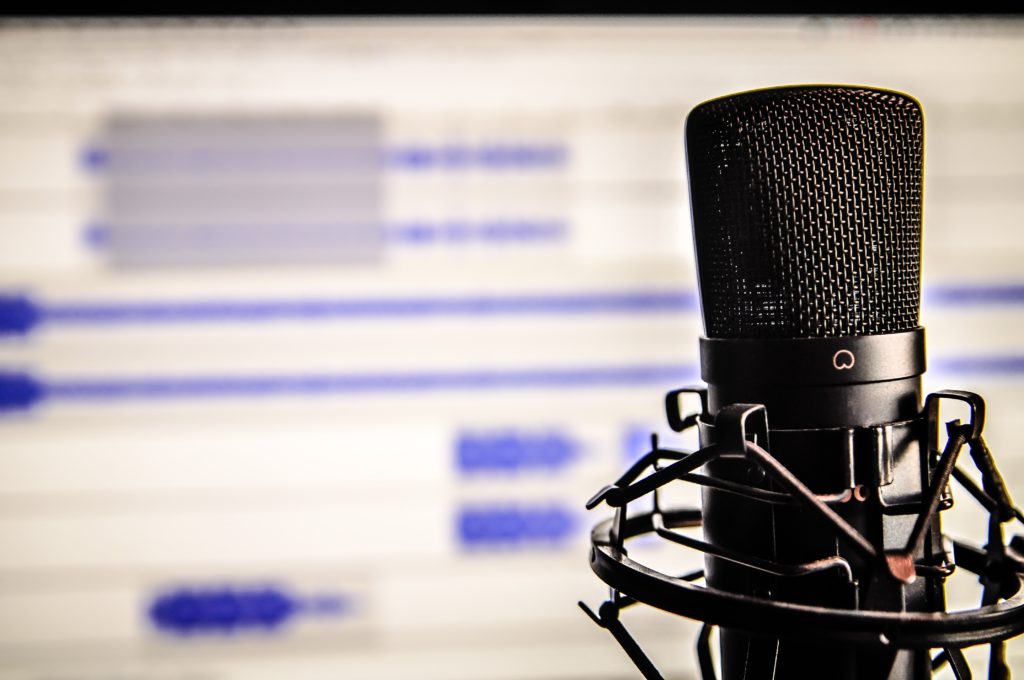
Capturing great audio is just the first step to making your product videos sound professional. You’ll need an audio editing software to enhance your recording to make it sound top-notch with some EQ and compression. Your video editing software could have just the right tools, or you might want a dedicated audio mixing program.
A major factor to consider is how easy the process is to sync your external audio with the recorded video (for on-screen dialogue). We use Adobe Premiere at ShipStation because it has a super-easy ‘merge clips’ tool that syncs the audio file from the Zoom H5 to the video we record on our DSLR.
Using Video Editing Software With Audio Tools
Most video editing softwares have tools to record and edit audio built-in the program. Some might even integrate directly with an external audio-mixing software. If you’re editing video, chances are you have the basic tools needed to edit and enhance your audio tracks.
Popular video editing software that includes built-in audio effects include Adobe Premiere, Final Cut Pro, Avid Media Composer and more! At ShipStation, we use the Parametric EQ and Multiband Compressor that are included in Premiere!
Dedicated Pro Audio Software
The ultimate user experience for recording, mixing and editing is found in a dedicated audio software. Offering a wide array of effects and editing tools specialized for audio, an audio software is the way to go for all the bells and whistles.
Some popular audio-editing softwares include Pro Tools, Adobe Audition, Logic Pro and more!
Free or Built-In Software
Some audio softwares built-in to your system or available for free on the web will get the job done! If you’re on a Mac, Garageband is a fantastic program to record, edit and add special effects to voice narration tracks. For all operating systems, there is a tried-and-true free audio program called Audacity for a simple and effective audio recording workflow.
Recording Your Audio
It’s time to start rolling. Before you hit record, check out these quick tips to get the best sound with your setup:
Placement
For on-screen dialogue in your product videos, you’ll want a shotgun microphone to hold as close as possible to the subject (without getting in the shot) and pointing straight at their mouth. This will ensure you are getting the least amount of noise around the subject. If it’s windy outside, be sure and get a wind muff to put on your mic!
If you’re recording voice-over, get close to your microphone (less than 1ft away). Use a pop-filter to block unwanted mouth-noises in your recording.
Gain
Soundcheck before you start rolling! Adjusting the gain ahead of time will better ensure you won’t clip (or max out the input gain). Talk as loud as you’ll get for the actual recording and adjust your gain so that your input volume doesn’t go past 85-90% at a maximum. Leave some room here for test recordings so that you can see if your input gain needs to come up or down for the final recording.
Monitor Your Input
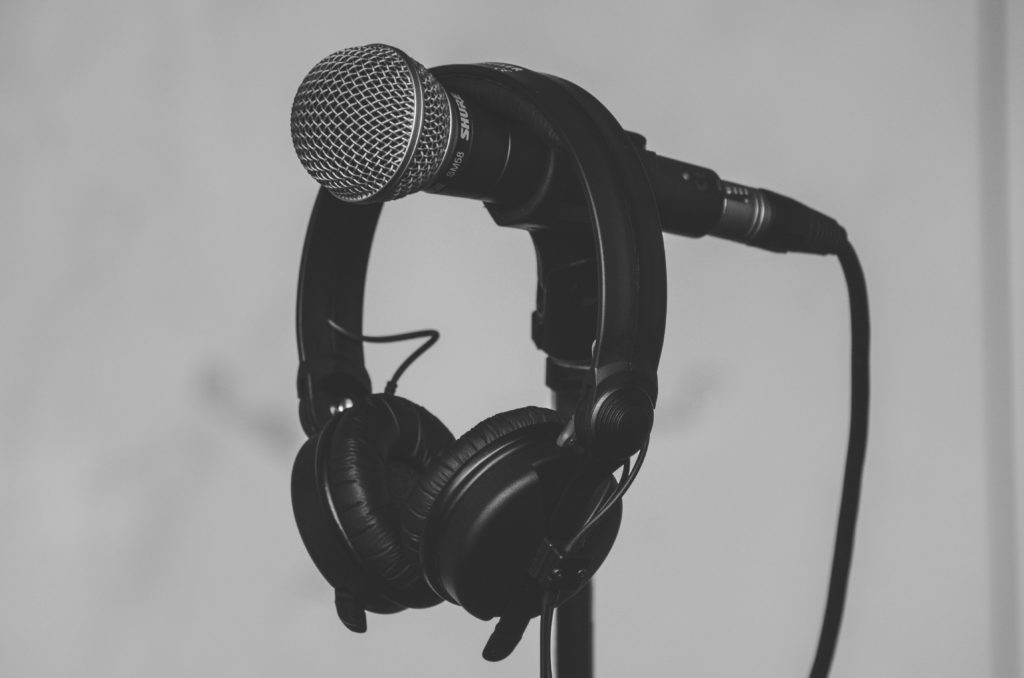
While you’re recording your subject (or yourself) always have headphones to monitor the sound. Along with keeping an eye on your input levels, this will help you spot if something needs to be re-recorded due to background noise, clipping or maybe your subject was too quiet.
Sell Online?
If you’re an e-commerce seller, great product videos are a great tool to show off your brand. A nice touch to your customer’s online shopping experience might be to incorporate your product photos beyond checkout. With a shipping software like ShipStation, you can promote your brand and wow your customers with additional places where your product photos can live like a Branded Tracking Page, your shipping confirmation emails, your packing slips, and more. If you want to use your product photos to their best advantage and save time and money when shipping your products, try out ShipStation free for thirty days.
